Nerf gun turret

I was working on a Nerf gun turret in my previous employment at a special needs school but never had time to finish it. There are a lot of very disabled children who don’t get to run around and wrestle like other kids do so I was trying to think of a way of them getting in on the ‘boisterous play’. The Nerf gun turret was meant to be something they could use with a small thumb joystick similar to one used to drive an electric wheelchair, or even controlled with eye gaze tracking. For this iteration I just hooked it up to a USB gamer joystick.

There are definitely some improvements to be made, the rig is flimsy, the tilt servo could do with some gearing, the gun often jams and I may have smoothed the input a little too much, but we are getting there! I’d love to hook it up to the Husky Lens and get some AI image tracking going on… face recognition to only attack a certain person?

Raspberry Pi Portable Power & Safe Shutdown

So I have been building a few portable things with Raspberry Pi Zero lately and I’ve been using the Adafruit PowerBoost board. Its a great board for bumping a 3.7V LiPo battery output up to 5.2V for running Raspberry Pi projects, plus it handles charging, has low battery detection and you can turn off the output with a pin. The only problem was being able to do a safe shutdown and then use a pin from the Pi to cut the power. I’m kind of surprised there isn’t a board and prebuilt solution for this and it took a lot of research before I came across NeonHorizons LipoPi repository. The functionality I was after was in the Power Up/ Power Down version and I used the ‘Simple Press’ section as the basis of my circuit. I was using the Adafruit Speaker Bonnet for my project so I could not use the suggested pin 18 and changed it to 27, but the rest stayed the same. Anyway, I put the suggested circuit onto some strip board and the solution worked perfectly so kudos and thanks to Daniel Bull. Check out the repo for the code, instructions and circuit diagrams, my circuit is below.

onOff button and powerboost.png


Huskylens Easy-to-use AI Vision Sensor


I just received my DFRobot Huskylens having funded the Kickstarter a while back. Of course there is zero documentation at the moment, I couldn’t find anything much online and was having trouble reading serial from the device. In the end I searched on Github and found an Arduino library. If you download the zip, unzip it and then rezip the ‘HUSKYLENS’ folder inside the main folder then you can import it as a zip library as described here and then access the examples.

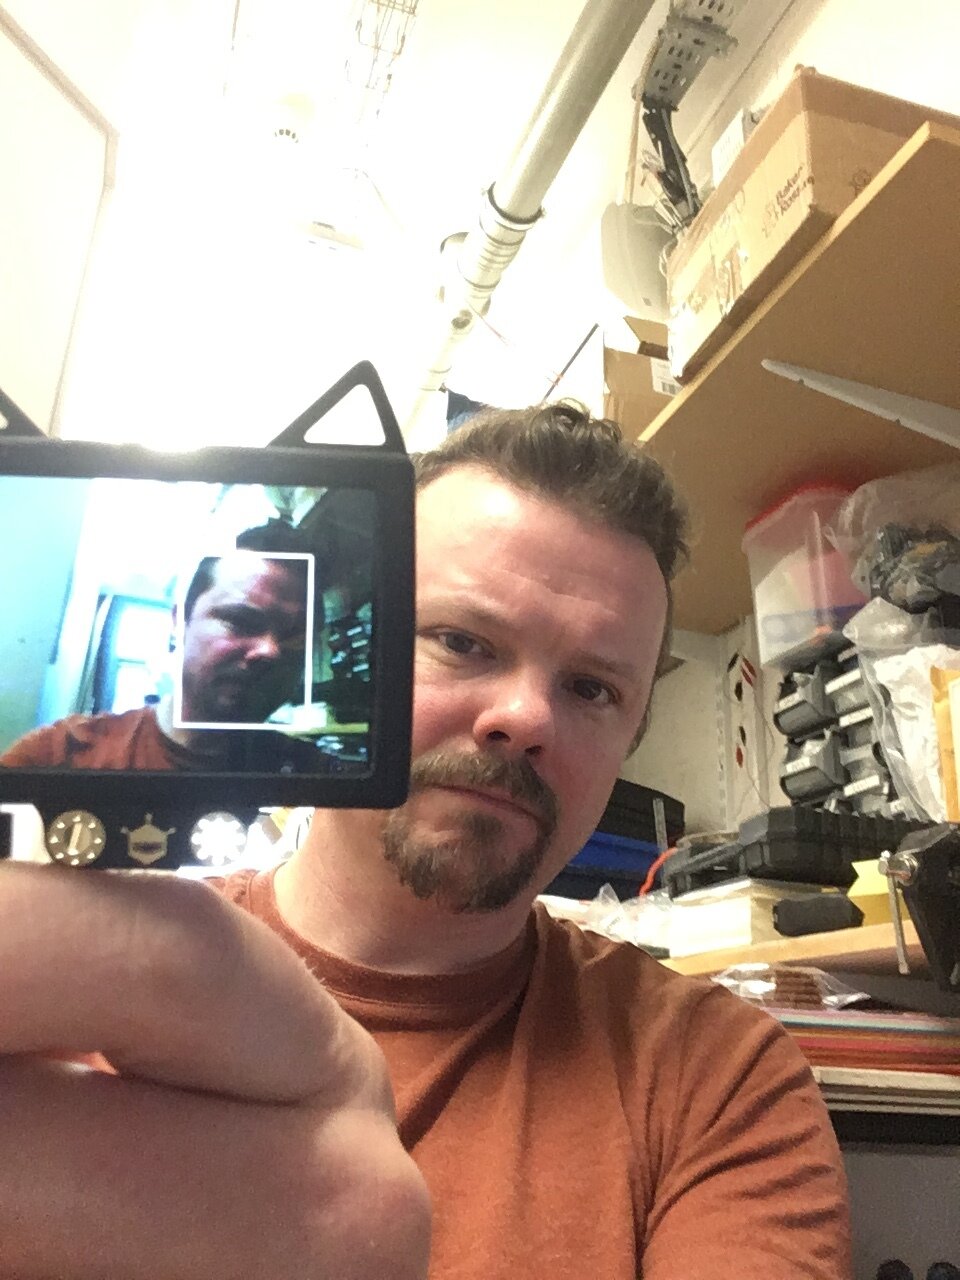
I had a quick play with the device and managed to get location data coming in to my Arduino for tracked objects and it seems pretty simple to learn new ones. Now if I can hook up some face detection to the nerf gun turret I am building we can have some fun…

Sound Fragments

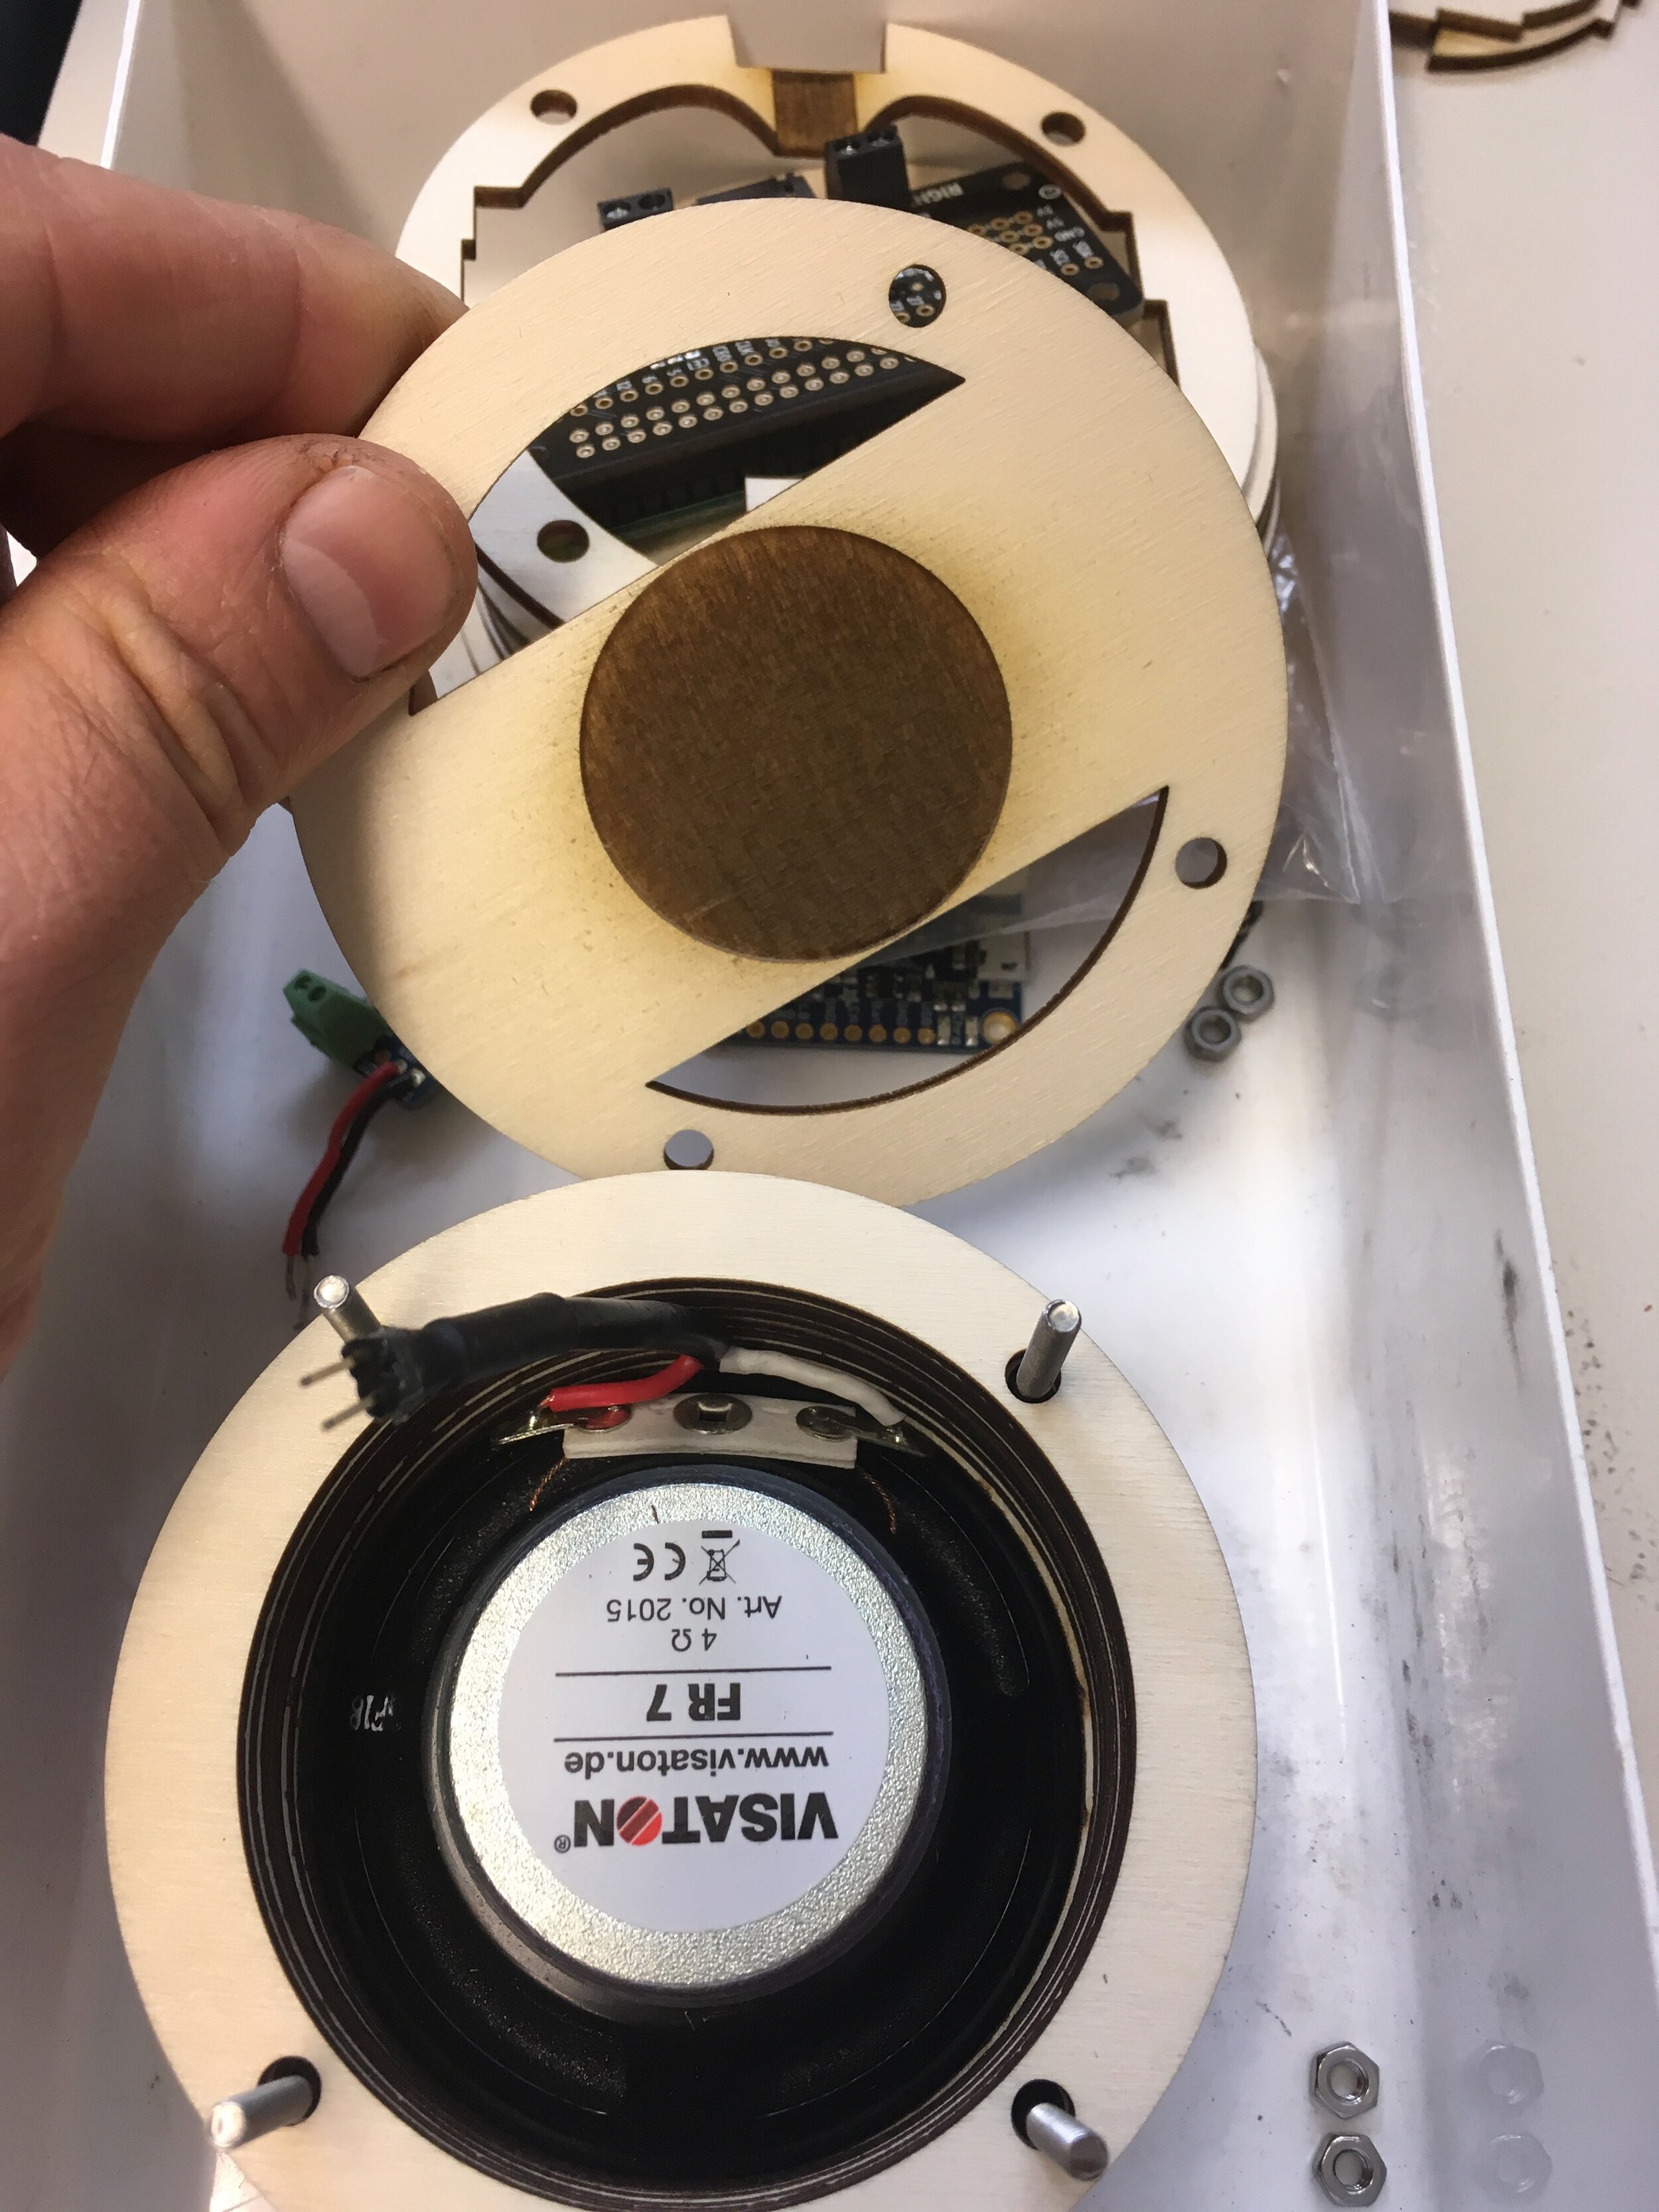
I have been working on some Raspberry Pi powered speakers for a while now. These devices owe a lot to the interactive bird sculptures that I made for Forest of Imagination in 2018. The devices have a decent speaker and amplifier, battery, are USB chargeable with exposed volume controls and can communicate with one another. Right now I am running PD on them to generate sounds and hope to add functionality for other inputs and outputs such as sensors, microphone and LEDs. The idea really was to be able to create a network of smart devices capable of producing decent quality sound for sonic art installations.

Eventually I hope to make this project open source and share the code, designs and bill of materials on line.

Smart Film

Well, the Shutter Glass was super cool, but I can’t seem to find it in big pieces and you need to use power to hold it dark . Smart Film is frosted and then you apply power to clear it which is more what I am after, again, cool stuff!


Feather Huzzah32 - ESP32 OSC

feather_3405_iso_ORIG.jpg

I was a fan of the old Huzzah board based on the ESP8266 chip, but it only had one analog input which made it unsuitable for some projects. The new ESP32 chip has loads of analog inputs, bluetooth/BLE and is pretty packed with GPIO and features! Check it out here at Adafruit

I have been using it to send button and fader/sensor readings over WiFi using OSC to my computer running Max MSP, it is a great tool. I have created a repository here with all the coding and information to set it up. 

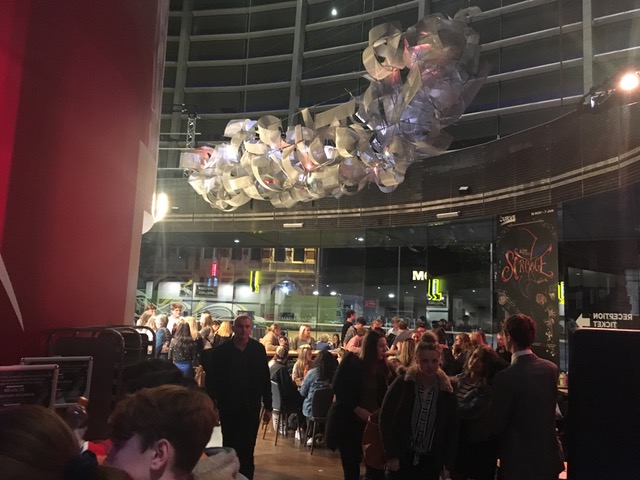
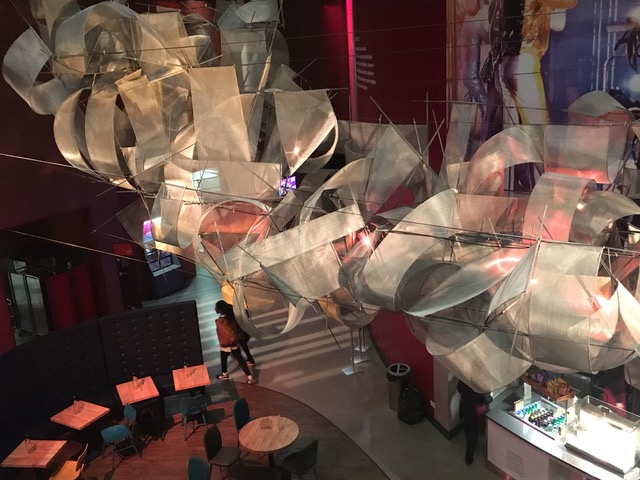
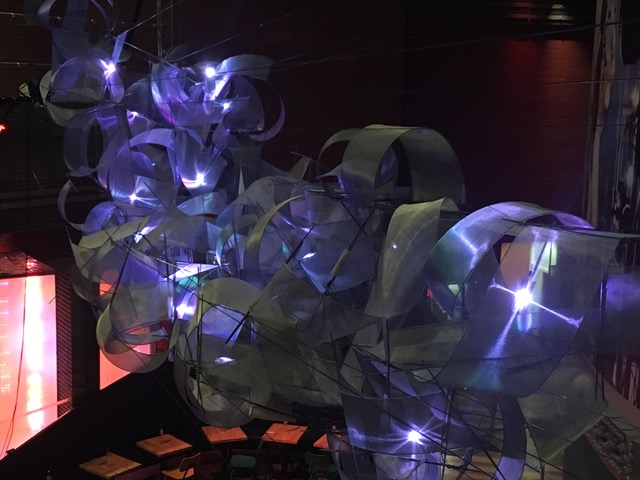
Esther Rolinson 'Revolve' installation at Curve Theatre, Leicester

So, this is the installation for which I have been working so hard on the modular power LED string. See those glowing internal lights?

Beautiful work, just sad I didn't get to see the finished piece in person. 

LED fidget spinner

It was my recently my son's birthday and although fidget spinner madness is starting to wane now I thought it was worth trying to cram some electronics into one. I found an Instructable that I took as inspiration and put my own spin (!!) on it. I wanted it to be see through as my son likes to see the workings of things (he would have just taken it apart otherwise!), which caused some issues when trying to grind things out as it tended to melt. Anyway I managed to get some really cool tiny switches from Rapid (2.5mm thick!) and ended up with this.

Wifi RFID sender

I have been putting together an RFID reader that can send tag IDs over Wifi to a machine running Max MSP on the same network. I have used an RC522 reader which I have blogged about before, and the recent Adafruit Feather Huzzah board which is based on the ESP8266 chip and includes an onboard Lipo charger so is great for portable IoT projects. For once I managed to find an enclosure of pretty much exactly the right dimensions, it was tight but I crammed it in including switch and indicator LED. The hardware will be used for a project at Three Ways School that aims to give non/pre verbal children a voice, more details to follow...

Arduino / Xbee network

I will be running some workshops on the Creative Computing course at Bath Spa in January with kit supplied by Farnell Element14. I want the students to create a network of nodes that communicate with each other and have some element of generative algorithm to them. I have built a proof of concept as seen in the video, a single node generates an audio and LED output and sends the message to another node, that node displays the incoming message and then generates one of its own to signal another unit. Right now everything is generated pretty randomly and the nodes choose another one to send their message to at random. Things will get more interesting when we link colour and audio frequency and think of more interesting ways to generate our message. Perhaps some nodes will favour talking to others or malcontents will start interrupting the current conversation? I am interested to see what behaviour might emerge when there are 10 of these things going and each has its own 'personality'...